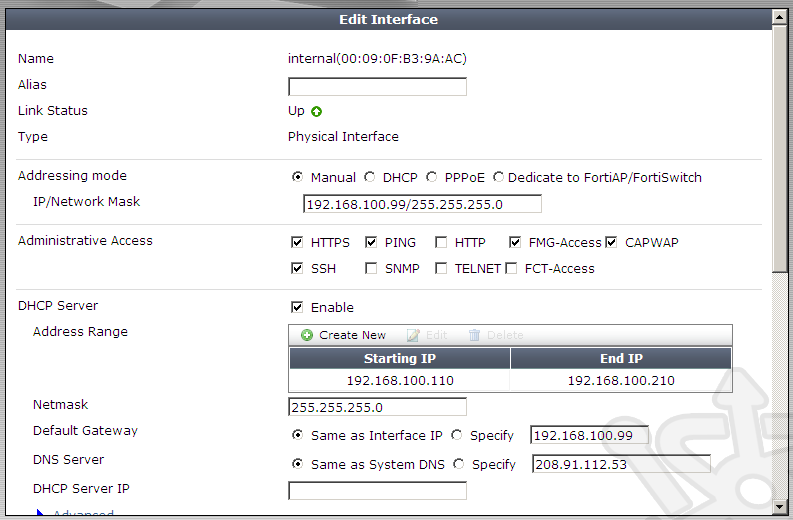
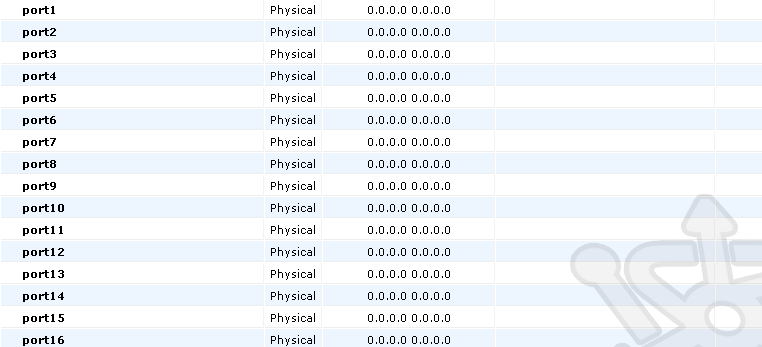
By default FortiGate devices are configured to have all numbered ports operate in switch mode under a single DHCP scope. This means that no matter which numbered port you connect into you’ll receive a lease from the device’s internal DHCP Server. You can see this by navigating to the System > Network > Interfaces menu. Here you’ll see the interfaces including the WAN, Management, DMZ as well as one labelled internal. This is a great out-of-the-box configuration, but what if you want to independently configure the numbered interfaces? Easy, change the internal switch mode.

The first thing we need to do is remove any references to the existing internal interface collection. Click on the internal interface and click Edit. Inside the internal interface collection we need to disable the DHCP Server. After unchecking the box, scroll to the bottom and click OK.

Next navigate to the Policy > Policy > Policy section. In here ensure there are no references to the internal interface collection. If any exist, they will need to be deleted.

With the references to the internal interface collection removed, we can reconfigure the device to operate in interface mode. Open a SSH connection, or the CLI Console on the system dashboard and enter the following commands:
1 2 3 4 5 6 7 8 9 10 11 | FG100D # config system global FG100D (global) # set internal-switch-mode hub hubinterface interfaceswitch switchFG100D (global) # set internal-switch-mode interfaceFG100D (global) # end |
Once completed, reboot the FortiGate device. When the device comes back online, navigate to the System > Network > Interfaces. You should see each of the numbered interfaces which can now be configured independently.
